As the winter frost starts to loosen its grip, it’s time to get your plumbing ready for the blooming days of spring. Aloha Plumbing, Sewers, and Drains, your go-to plumbing experts in Utah, have crafted a checklist to ensure your plumbing system transitions smoothly from winter hibernation to springtime vitality.
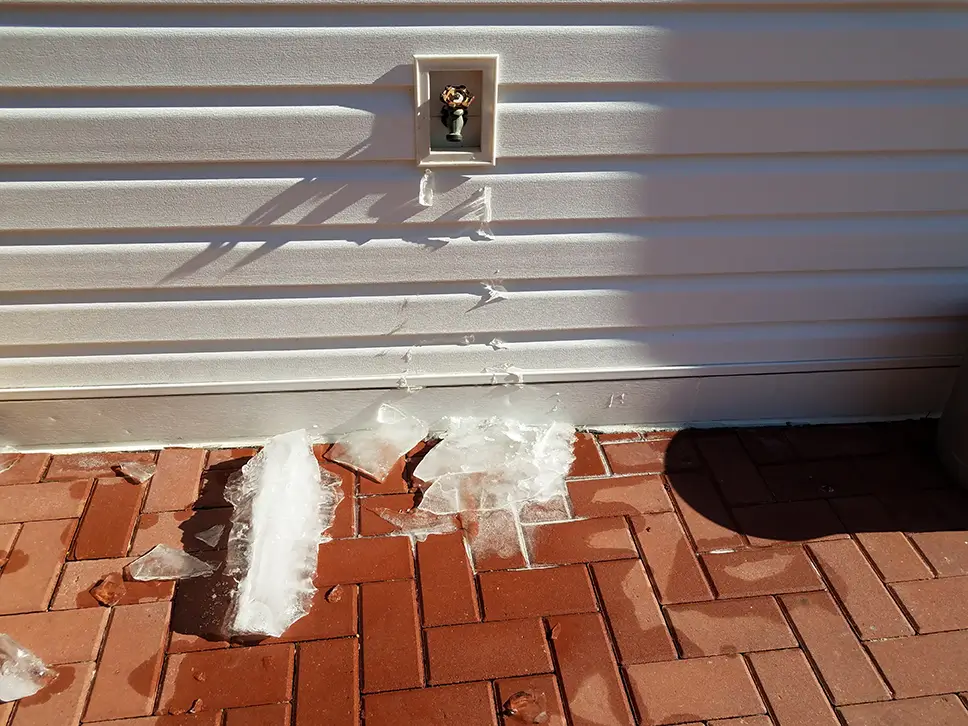
Exterior Faucets and Hose Bibs
Inspect outdoor faucets and hose bibs for any signs of freezing damage. Turn on and check each faucet to ensure there are no leaks or blockages.
Sprinkler System Inspection
Carefully examine your sprinkler system for any visible damage or leaks. Turn on the system and check each zone to ensure proper functionality.
Pipe Inspections
Inspect visible pipes for any signs of damage, corrosion, or leaks. Check crawlspaces and basements for any water stains or moisture.
Faucet and Sink Checks
Run water in all sinks and tubs to ensure proper drainage. Check faucets for any drips or leaks and address them promptly.
Toilet Functionality
Ensure toilets are flushing properly without any delays or unusual sounds. Check for any leaks around the base of the toilet.
Sump Pump Examination
Test your sump pump by pouring water into the sump pit and ensuring it activates correctly. Clean out the sump pit and remove any debris.
Inspect Water Meter
Check your water meter for any signs of leaks by turning off all water sources and monitoring for movement on the meter.
Drainage System Assessment
Inspect gutters and downspouts for any blockages caused by winter debris. Ensure that downspouts direct water away from your home’s foundation.
Water Quality Check
Test your water for any changes in quality, including odor or discoloration. Consider scheduling a professional water quality test if needed.
Water Heater Check-Up
Gradually increase the temperature setting on your water heater to ensure it’s ready for increased demand in the warmer months. Drain a small amount of water from the tank to clear sediment buildup.
Schedule Professional Maintenance
Contact Aloha Plumbing, Sewers, and Drains to schedule a comprehensive plumbing inspection and maintenance service. Discuss any concerns or potential upgrades with our skilled technicians.
Spring is a time for renewal, and your plumbing system should be no exception. With Aloha Plumbing, Sewers, and Drains by your side, ensure that your plumbing is ready to embrace the vibrant season ahead. Schedule your de-winterizing and maintenance services today!